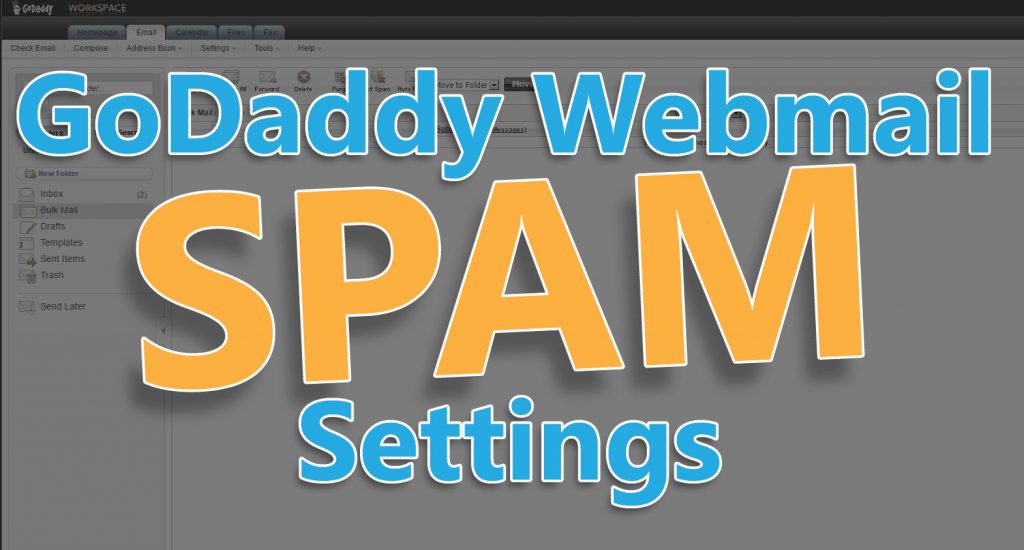
Godaddy Webmail Spam settings come up frequently as a discussion topic. Over the last 10+ Years, I have dealt with hundreds of scenarios regarding the use of GoDaddy’s Workspace email. The inability to send or receive emails intermixed with the idea of Spam is among the most popular of questions with clients.
Step 1: Access GoDaddy’s Webmail
GoDaddy’s webmail can be accessed here: https://sso.godaddy.com/?realm=pass&app=email
Simply enter your email address, password and then click the green sign-in button after you decide to remain logged in. Do not use that checkbox if you are on a public or shared device.
Step 2: Get into the GoDaddy Webmail Spam folder
By default, the GoDaddy Webmail Spam folder is accessible from the “Bulk Mail” link on the left side navigation. Spam filtering options are addressed in the next step.
Step 3: Adjust Godaddy Webmail Spam settings
Godaddy Webmail Spam settings are located in the main Workspace dashboard. Hover over the Settings link in the main navigation of the “Email” tab then click on “Spam Settings”.
If you want to change your spam filtering options, this is the section for that. Your options include the following:
- Turn off spam filtering
- Move to Bulk Mail (the recommended and default setting)
- Mark subject with [SPAM]
- Restricted mode
Furthermore, as stated in Step 2, the default is sending spam emails to the “Bulk Mail” folder. If you want the spam to come into your regular inbox as “flagged”, choose option 3 “Mark subject with [SPAM]. Advanced users typically want to lock down their email because they want to avoid clicking on bad links or loading malicious code. If you want to really lock down your email, try using “Restricted mode” that only allows emails from the “Allowed List” to enter your inbox. Instructions for adjusting the Allowed List are in step 5.
Step 4: Check and adjust the Blocked email address list
If you that want to add an email address to a blocked sender list, this is the section for you. This information is also relevant if you want to check to make sure an email is not on the blocked sender list.
To adjust the blocked email address list, do the following:
- Get to the GoDaddy Webmail Spam settings following step 3.
- From anywhere in the GoDaddy Webmail Spam settings sections, click on the “Blocked List” tab.
- Click the black “Add New” button, enter the email address to block and click “OK” to add an address or
- Click the checkbox next to the email address you want to remove from this list, click the black “Delete” button and “OK” to confirm.
Step 5: Check and adjust the Allowed email address list
Sometimes you want to make sure that you are receiving emails from a particular email address. Sometimes mailing lists or other automated mailings from websites recommend that you take this step. This is the section that will help you do that.
To adjust the allowed email address list, do the following:
- Get to the GoDaddy Webmail Spam settings following step 3.
- From anywhere in the GoDaddy Webmail Spam settings sections, click on the “Allowed List” tab.
- Click the black “Add New” button, enter the email address to allow and click “OK” to add an address or
- Click the checkbox next to the email address you want to remove from this list, click the black “Delete” button and “OK” to confirm.
Final thoughts on email problems
In conclusion, email problems are NEVER fun. Of all the many many email issues I have dealt with, there is one pattern. It’s not usually email providers, connectivity issues or email clients, rather it’s general user error. Fortunately, most people now understand when their email isn’t connecting to try and see if they can get a webpage in their browser to eliminate the possibility of an ISP connection error. Regardless, it seems like missing characters, wrong email address, etc. are still the most common mistakes.
In the case where someone is using email from a shared server and someone else triggers a blacklist from s site like Spamhaus, those things tend to resolve on their own since others have the same problem.
Article Feedback
Finally, I hope you enjoyed this article and it helps you out. Look for possible advanced email diagnostic articles in the future.
If you have any questions or comments then please leave a reply below else, thank you for reading!
